Pinhole Photography


Pinhole photography employs the fundamental principles of a camera. It consists of a lightproof box, an aperture, and light-sensitive material. Light passes through the pinhole, projecting an inverted image onto the paper or film located at the opposite end of the camera.
In pinhole photography, the distance between the pinhole and the film influences the angle of view. A shallower depth results in a wider angle. Most pinholes are designed for wide angles, which is advantageous since a longer focal length would complicate the framing of your image. The wide angle facilitates easier framing, as it captures a larger portion of the scene.
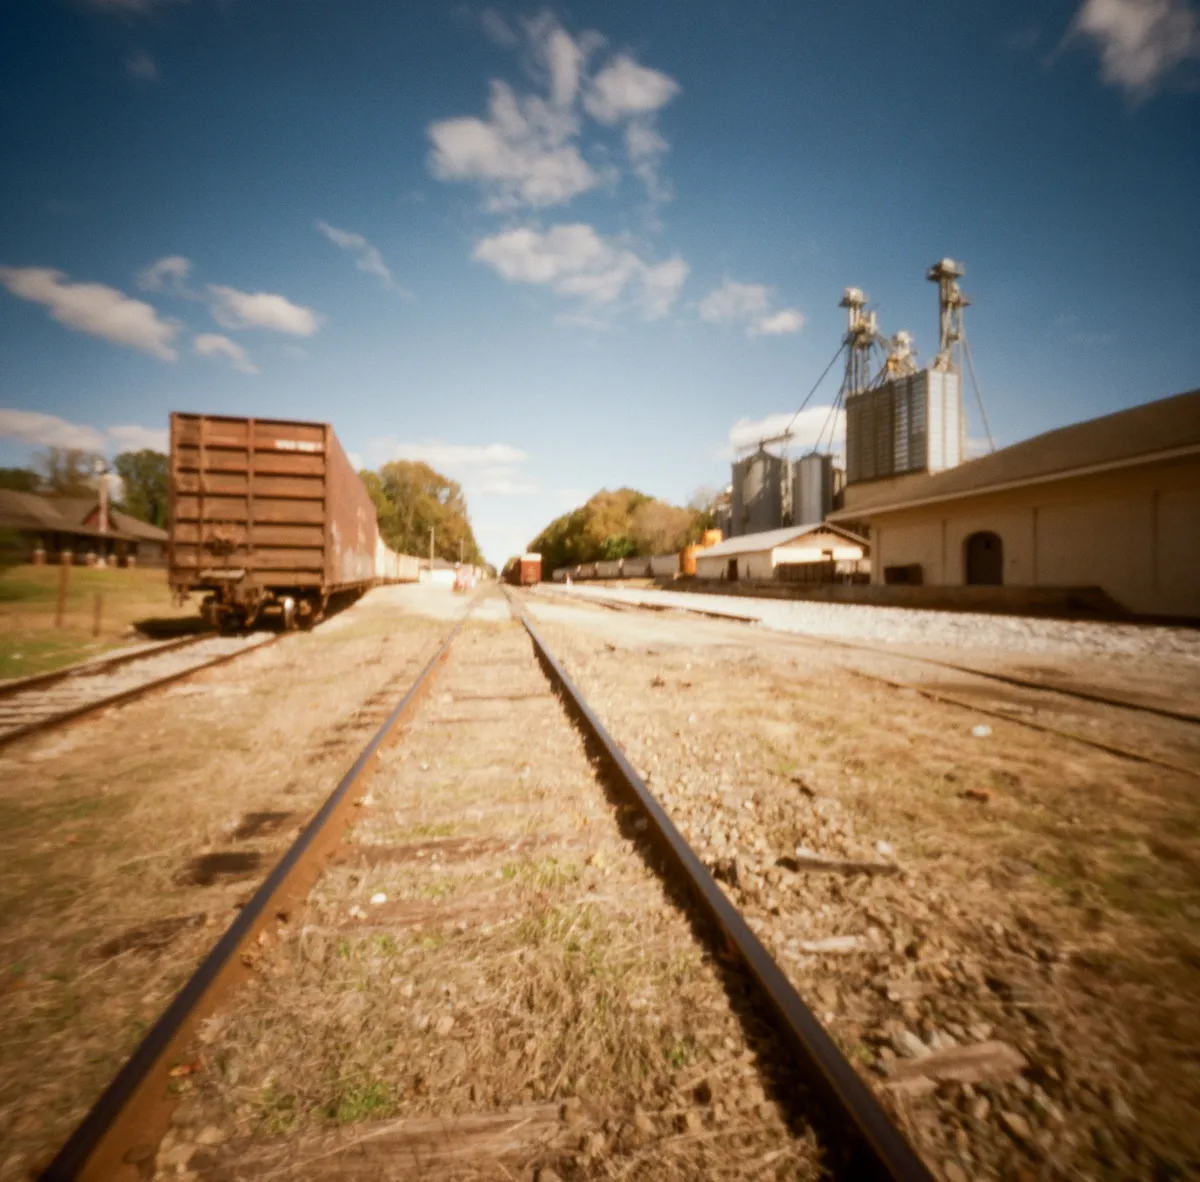
For beginners, pinhole photography serves as an exhilarating introduction to analogue photography, distilling it to its most essential components. There is an enigmatic quality to pinhole photography; without a viewfinder, you cannot precisely predict what you will capture. The enjoyment often lies in the uncertainty until the developed exposure reveals the outcome.
Despite its simplicity, pinhole photography necessitates careful consideration. One must take time to contemplate exposures, the movement within the scene, what elements are static or in motion, and how the blur will appear. This practice can be a soothing, meditative experience, providing an ideal opportunity to slow down the image-capturing process and concentrate solely on the most critical steps.
Long Exposures and New Perspectives
Due to the necessity of small pinhole apertures, you will consistently be engaged in long exposures, even during bright days. Since you are already working at a slow pace, utilizing low ISO film will yield the best possible detail. Opting for a faster speed film will not provide significant benefits, aside from increased grain. Therefore, a slower film will result in a sharper and cleaner image.
To achieve sharp images with your pinhole camera, a tripod is essential. If you are working without a tripod, it is crucial to place the camera on a stable surface. Ideally, employing a cable release is also recommended. Some advanced pinhole cameras offer this feature, which will assist you in maximizing the camera's potential. The more frequently you utilize your camera, the better you will become at estimating exposure times and understanding the resulting images.
Pinhole Cameras
Pinhole cameras are remarkably straightforward, allowing you to construct one on your own. All that is required is a cardboard box. For optimal results, it is advisable to paint the interior black, as this will prevent light from reflecting within the camera. A needle can be utilized to create the pinhole, and you can affix a flap of card over the hole to serve as your shutter. Locate a light-tight environment, or use a changing bag, to secure some film or paper inside the camera, and you are all set!
Clearly, this describes a very fundamental pinhole camera. Conversely, you have the option to acquire a precision-crafted wooden pinhole camera. Cameras produced by Zero Image feature specially designed pinholes that yield sharper images and precise exposures. Zero Image cameras are compatible with 35mm and 120 films, as well as 4×5 sheet film. Compact and lightweight, they are convenient for shooting and transporting while traveling. You can load them in daylight, which significantly enhances usability. Additionally, an exposure calculator located on the back, along with a light meter, will assist you in determining the precise exposure required.
https://www.ilfordphoto.com/pinhole/
TL;DR
Pinhole photography is basic. Box, hole, light-sensitive material. Light through hole projects inverted image.
Pinhole-film distance = angle. Wider angle = easier framing.
Pinhole is intro to analog. Unknown until developed. Thoughtful process. Slow down.
Long exposures. Use tripod. Slower film = sharper.
Make your own pinhole camera. Or get precision-made one. Easy to use.